Hi Guys,
Okay it would have been easier to just buy one, but then I wouldn’t have had the pleasure of actually building one. I have wanted to do this for a several years, but truthfully I didn’t have the motivation since I owned a Kayak and in the US they are so available what was the point. Here in Albania it turned out that they are overly expensive and difficult to obtain, so we decided to build.
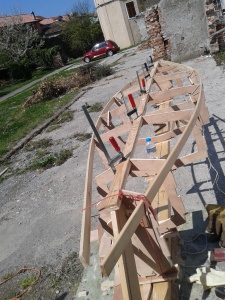
At the end of today we have about 21 hours of work between the two us into the kayak. My friend Evis was a little nervous about getting into this, but now that we have the keel and side stringers on it actually looks like a kayak now both he and I are very happy. There are a few things that didn’t work out as I planned. Imagine that! I was flabbergasted! hahaha. The bow and stern didn’t work out quite as I intended and I will have to figure another way of making them functional and look pretty when done. The first one is mine and the second Evis’s so he really gets the benefit of what we learn here and there is a lot that we learned.
Originally I was going to screw and glue the stringers to the frame. The problem is that the plywood which is very nice furniture grade plywood is just at 1/2 inch and that makes it difficult to screw into. The solution …. wire ties and glue. I did use on the first stringers the old Eygptian clamp of twisting some string, but we then remembered that this is the 21st century and we have more options. Evis’s brother mentioned the wire ties when he stopped by early in the day. I had read that online and completely forgot about using them. I was enjoying using the twisting clamp, but they were a little slow with the poly urethane glue. So far they are holding very well.
One very important thing to remember; poly-urethane glue is very difficult to remove once it adheres to your skin. It will turn black and it will be on your hands for a week or so. 🙂 Wear gloves from the on start while using this glue.
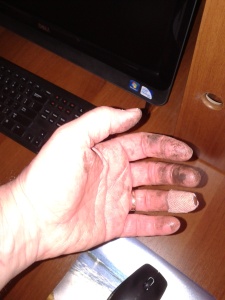
Darn Poly-urethane Glue!
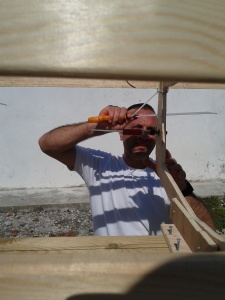
Evis Making adjustment to the frames to fit the stringers
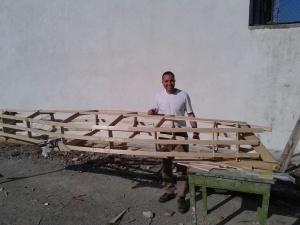
The frames, keel and three side stringers are set.
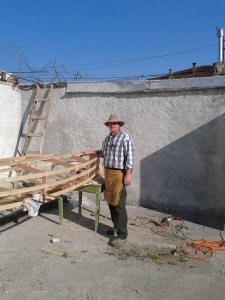
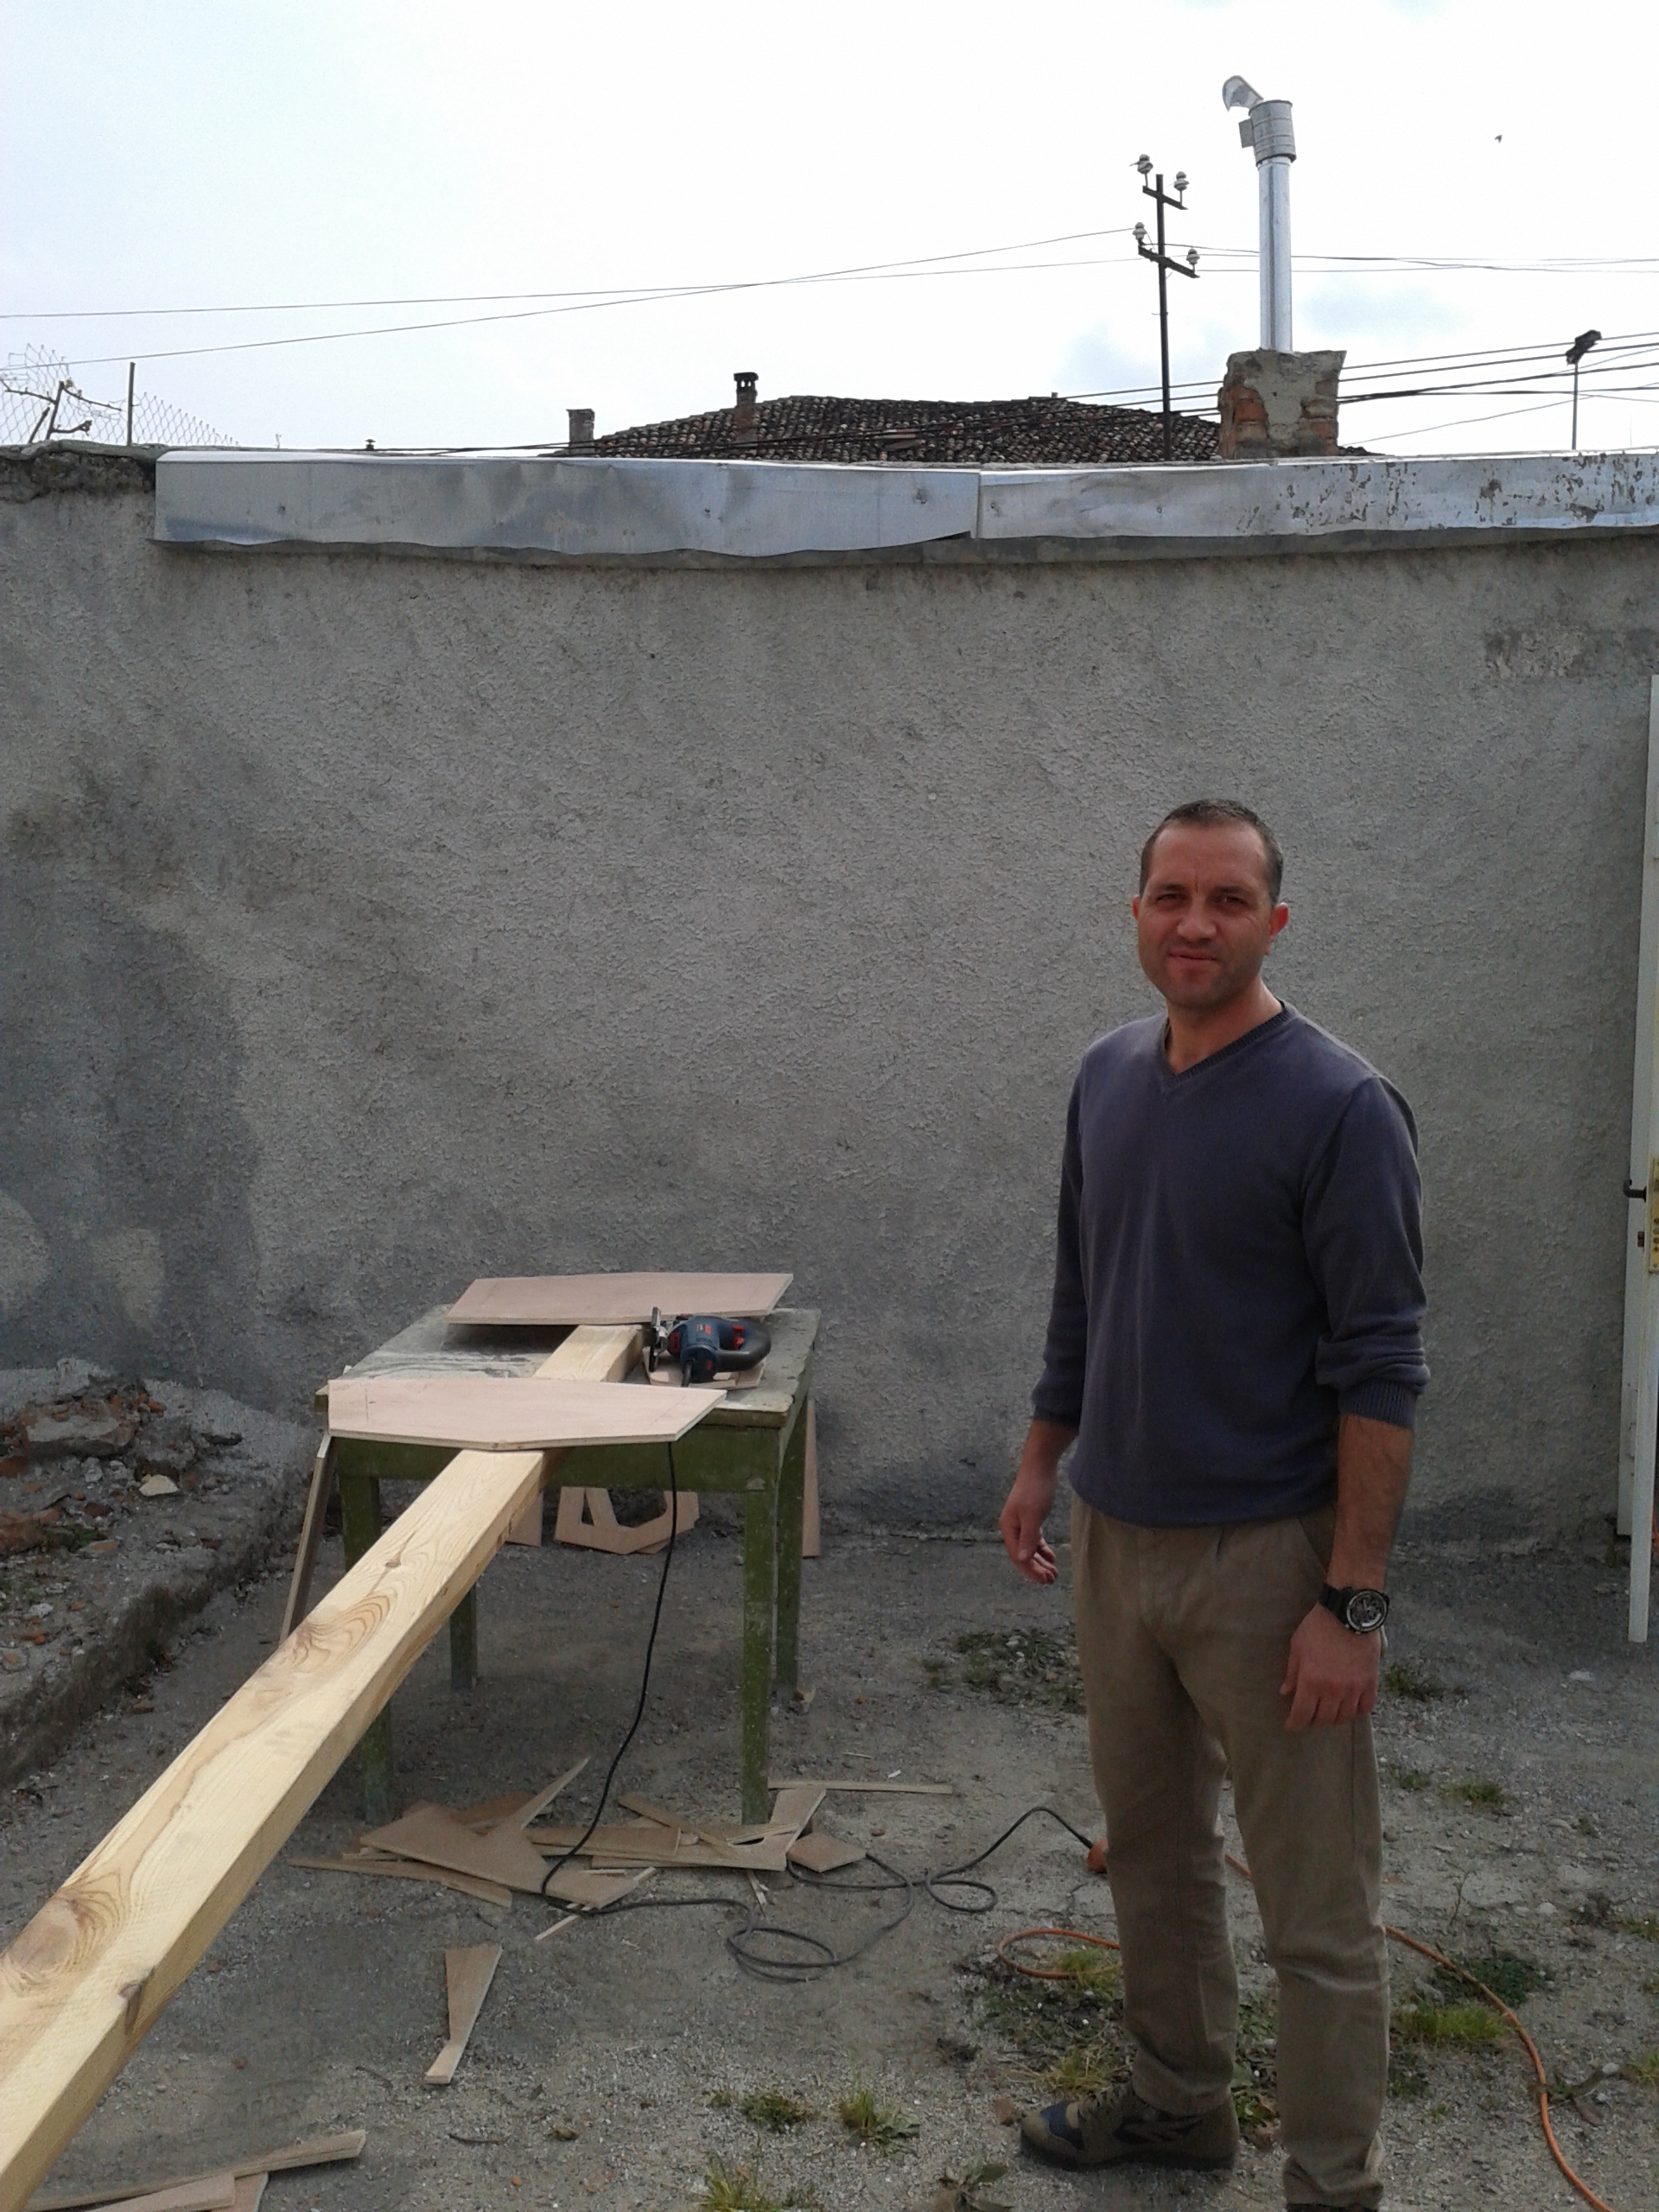
Me with the skeleton today 3-30-14
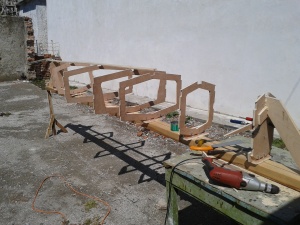
Initial frame set up for testing the keel
Keel set in place
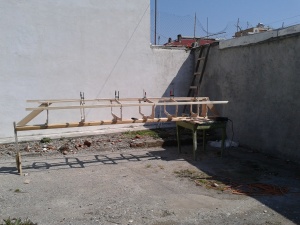
Keel laid with bottom side stringer ready to be tied to frames
I know it isn’t blacksmithing, but as I said I will not be doing any until I get all this crap out of my shop!!!! :))) I can’t wait to set sail in a kayak that I actually build. Pretty cool so far.
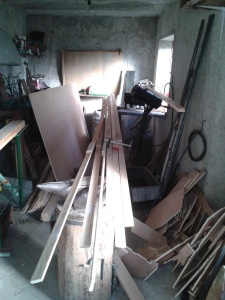
What my Blacksmith Shop looks like now
Thanks for stopping by,
See ya at the Forge! Soon!
Vince
 Hi Guys,